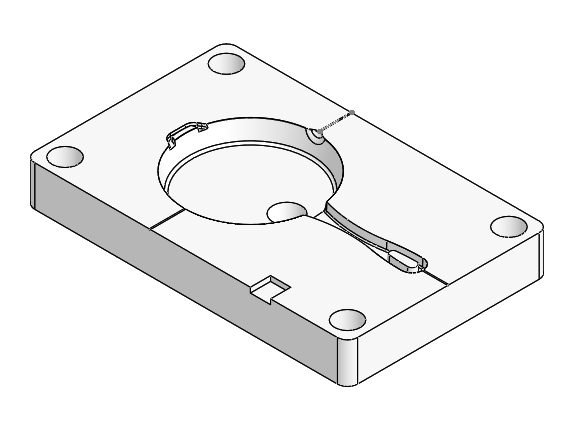
The part
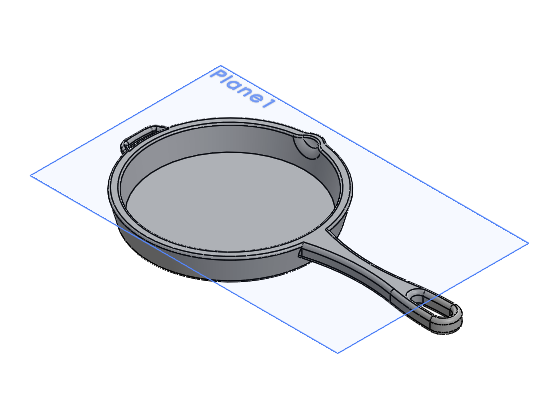
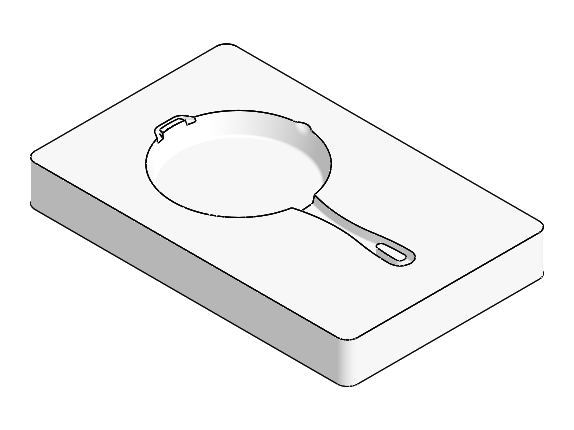
I modeled a small cast-iron skillet, then set it into a mold block for the second version.
Mold design
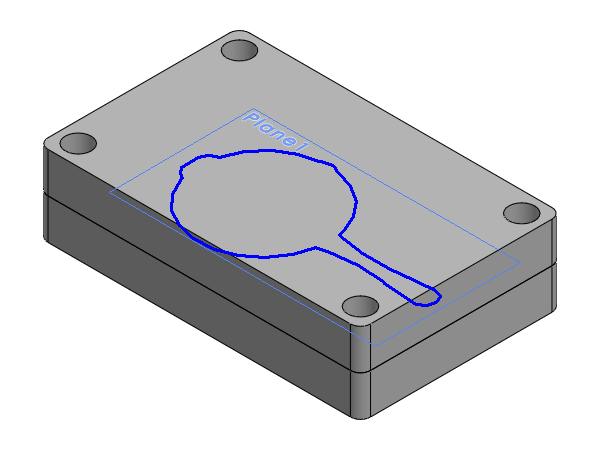
With the part finished, I used SolidWorks' mold tools in sequence:
- Parting line: chose where the two mold halves meet around the skillet
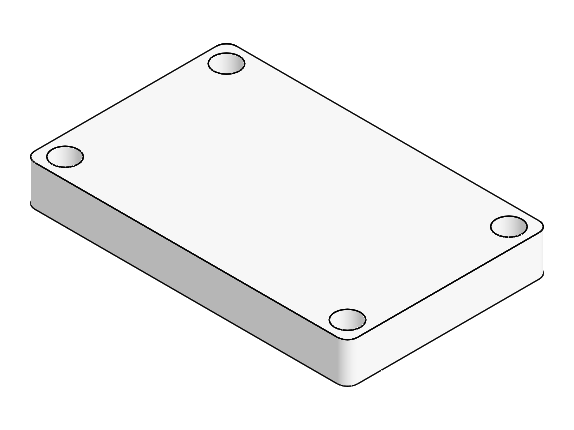
- Tooling split: cut a mold block into a core and a cavity along that line
- Core revisions: refined the core from v3 to v5
Making it
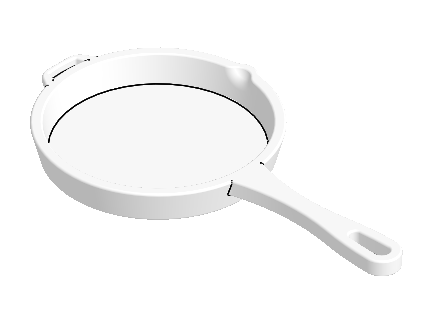
The plan was to 3D print the mold halves first, then machine a final set. Time ran short, so we stuck with 3D-printed molds and filled them with a commercial pour-and-cure resin, which kept the prototyping fast.
The first parts came out rough. The reliefs were too small, so air got trapped in the mold and kept the resin from filling the cavity completely.
What I learned
Design the part itself with draft angles from the start. Our skillet model didn't account for them well, and that limited what we could do when we designed our first molds. Venting matters just as much: air that can't escape leaves voids in the part.